[ad_1]
Evidently, the invocation of aromatherapy has pulled in many who want relaxation and wellness recently. On the schedule of this matter is the diffuser, one tool that pumps essential oils into the air, therefore uplifting both the mood and the immunity of one who inhales the same. Nonetheless, buying a good diffuser might be expensive. However, what you can do certainly is to make a DIY diffuser that is not only an inexpensive substitute but also a very enjoyable and satisfying activity.
Why Make a DIY Diffuser?

Cost-Effective Solution
Commercial diffusers can range from moderately priced to quite expensive, depending on their features and design. By opting for a DIY diffuser, you can achieve the same benefits at a fraction of the cost. With a few simple materials and some creativity, you can craft a diffuser that fits your budget and style preferences.
Personalization
One of the most significant advantages of making your own diffuser is the ability to personalize it. Whether you prefer a sleek, modern design or something more rustic and natural, you can tailor your DIY diffuser to match your home décor. Additionally, you can experiment with different essential oil blends to find the perfect scent that resonates with you.
Environmental Impact
Creating a DIY diffuser allows you to choose eco-friendly materials and avoid the use of plastics that are often found in commercial products. By making your own diffuser, you contribute to reducing waste and promoting sustainability.
Essential Ingredients for Your DIY Diffuser

To make a DIY diffuser, you’ll need a few essential components. These include:
1. Essential Oils
Essential oils are the heart of any diffuser. They come in a variety of scents and each has its unique therapeutic benefits. Some popular choices include:
- Lavender: Renowned for its soothing effects and capacity to induce relaxation.
- Peppermint: Offers an invigorating aroma that can help with mental clarity and focus.
- Eucalyptus: Helps clear nasal passages and has a refreshing, clean scent.
2. Carrier Oil
Carrier oils are used to dilute essential oils and help them disperse more effectively. Common carrier oils include:
- Jojoba Oil: Closely resembles the skin’s natural oils and is excellent for skin care.
- Fractionated Coconut Oil: Lightweight and absorbs easily into the skin.
- Almond Oil: Rich in vitamins and has a mild, nutty scent.
3. Diffuser Base
For a DIY diffuser, you can use various bases, including:
- Reed Diffuser Base: A simple glass jar with reeds can be used to disperse essential oils into the air.
- Nebulizer: A more advanced option that uses compressed air to break essential oils into fine particles.
4. Container
Choosing the right container is crucial for both function and aesthetics. Options include:
- Glass Jars: Ideal for reed diffusers, as they are non-reactive and can be found in various sizes and shapes.
- Ceramic Bowls: Perfect for creating a more decorative diffuser with a rustic touch.
- Plastic Bottles: Use sparingly and opt for BPA-free options if you choose this route.
5. Optional Add-Ins
To enhance your diffuser, you might consider:
- Food Coloring: Add a splash of color to your diffuser.
- Decorative Elements: Include items like dried flowers, herbs, or beads for a more personalized look.
How to Make a Reed Diffuser
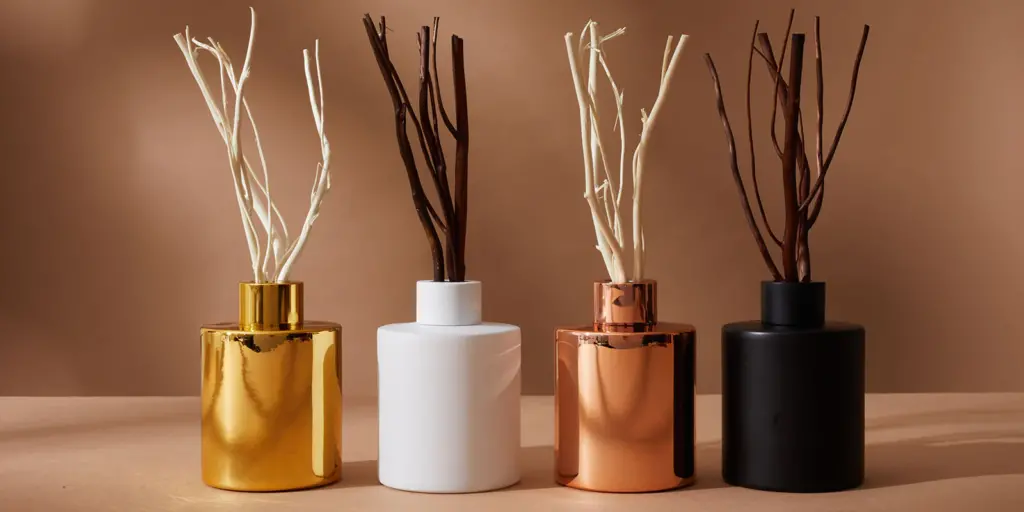
A reed diffuser is one of the simplest DIY diffusers to create. Follow these steps to make your own:
Materials Needed
- A small glass jar or bottle
- Reed sticks (available at craft stores)
- Essential oils of your choice
- Carrier oil
- Optional: Food coloring or decorative elements
Instructions
- Prepare Your Container: Clean the glass jar or bottle thoroughly and let it dry completely.
- Mix Essential Oils and Carrier Oil: In a separate bowl, combine about 30-40 drops of essential oil with 2-3 tablespoons of carrier oil. Adjust the amount based on the size of your container and desired scent strength.
- Add Color (Optional): If you wish to add a touch of color, put a few drops of food coloring into the oil mixture.
- Pour the Mixture: Carefully pour the essential oil and carrier oil mixture into the glass jar.
- Insert Reed Sticks: Place the reed sticks into the jar, allowing them to absorb the oil mixture. Turn the sticks every few days to refresh the scent.
- Decorate (Optional): Add any decorative elements to the jar, if desired.
- Enjoy: Place your reed diffuser in a room where you want to enjoy the fragrance. The scent should last for several weeks.
How to Make a Nebulizer Diffuser
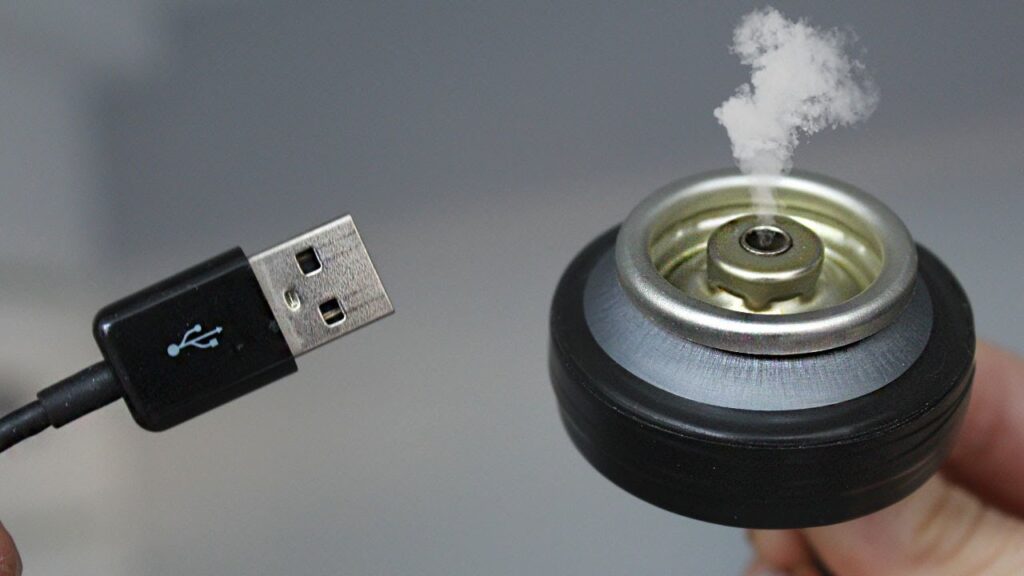
A nebulizer diffuser is a bit more complex but offers a more intense fragrance experience. Here’s how to create a basic version:
Materials Needed
- A compact glass vial with a securely fitting cap
- A mini fan or air pump (available at electronics stores)
- Essential oils
- Optional: Decorative items
Instructions
- Prepare Your Bottle: Clean and dry the glass bottle.
- Add Essential Oils: Fill the bottle with your choice of essential oils. You can opt for a single essential oil or create a custom blend.
- Attach the Fan or Air Pump: Securely attach the mini fan or air pump to the bottle. This component will help disperse the essential oils into the air.
- Power Up: Turn on the fan or air pump and place the bottle in a desired location.
- Decorate (Optional): If desired, decorate the outside of the bottle with craft materials.
- Enjoy: The nebulizer will diffuse essential oils more intensely, offering a stronger scent.
Maintenance and Tips for Your DIY Diffuser
1. Regular Refills
For reed diffusers, keep an eye on the oil level and refill as needed. Essential oils can evaporate as time goes by, so topping up your diffuser helps keep the scent fresh and consistent.
2. Cleaning
Regularly clean your diffuser to prevent build-up and ensure optimal performance. For reed diffusers, wash the jar and replace the reeds if they become saturated or discolored. For nebulizers, clean the components according to the manufacturer’s instructions.
3. Essential Oil Blends
Experiment with different essential oil blends to find what works best for you. You can mix different oils to make scents that are relaxing, uplifting, or even tailored to the seasons.
4. Safety
Always use essential oils according to their guidelines and be mindful of potential allergies or sensitivities. Keep diffusers away from pets and children to avoid any unintended exposure.
[ad_2]